使用 DISQUS 作為 GitHub Pages 的留言系統
![]()
0x00 預先準備
- 註冊 DISQUS
0x01 新增站台
登入 DISQUS 後前往 Engage
點選 Start Using Engage
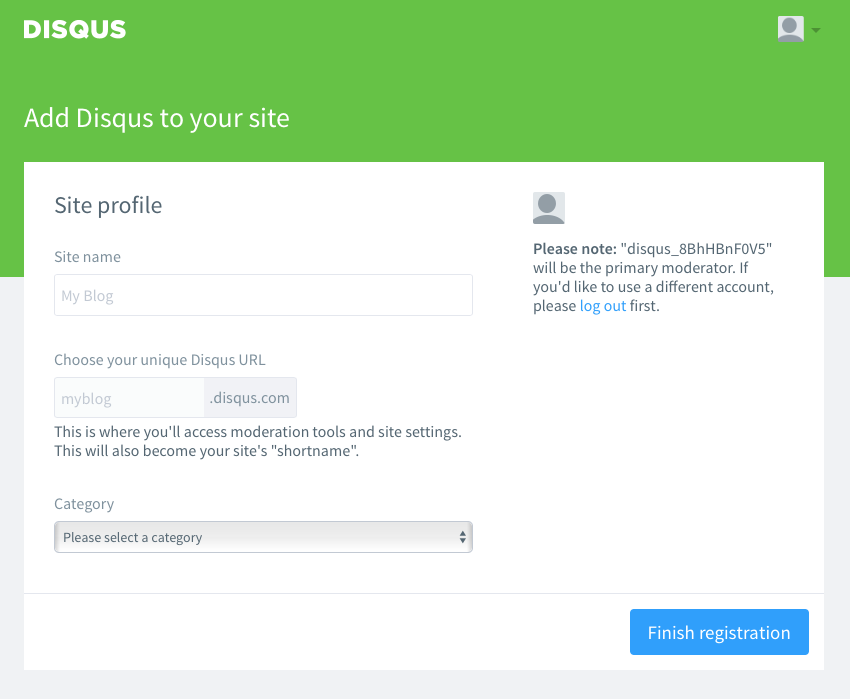
將站台資料填寫完畢
0x02 取得嵌入留言板需要的程式碼
完成前一個步驟之後
會進到以下頁面
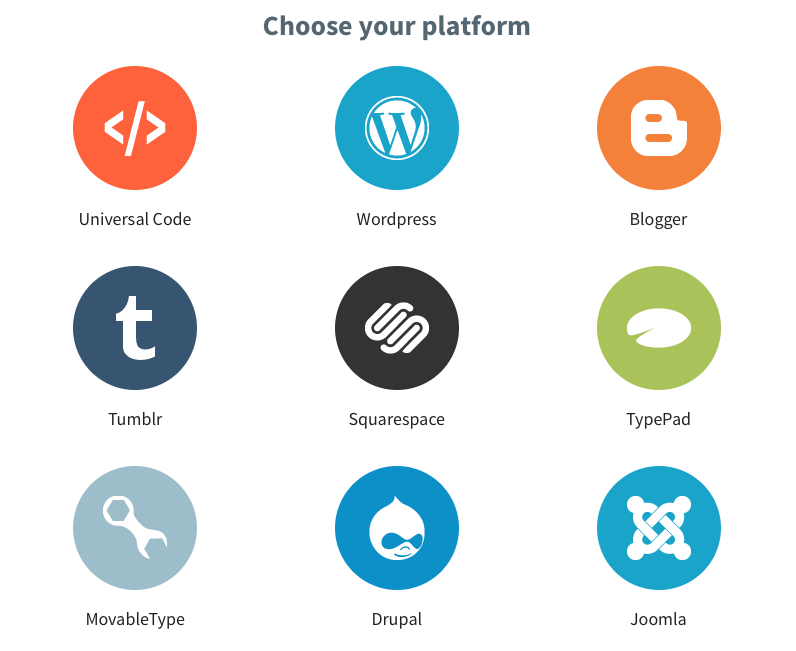
選擇 Universal Code
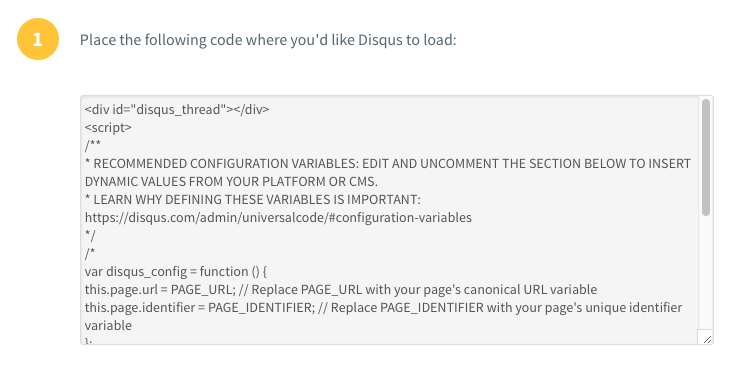
將第一段程式碼複製下來
0x03 修改樣板
在 Jekyll 的安裝的路徑底下找到 _config.yml 檔案
找地方加上
comments: true接著找到 _layouts/post.html 檔案
在檔案的最下方新增兩行程式碼
{% if site.comments %}
//add the "Universal Embed Code" here
{% endif %}
並且在那兩行程式碼中間插入 將剛剛複製下來的 Universal Embed Code
0x04 修改 Universal Code
剛才複製的 Universual Code 中有一段為
/*
var disqus_config = function () {
    this.page.url = PAGE_URL; // Replace PAGE_URL with your page's canonical URL variable
    this.page.identifier = PAGE_IDENTIFIER; // Replace PAGE_IDENTIFIER with your page's unique identifier variable
};
*/
需要將註解拿掉並且把 PAGE_URL 修改為 "{{ site.url }}{{ page.url }}"
修改後的程式碼為
var disqus_config = function () {
    this.page.url = "{{ site.url }}{{ page.url }}";
};
0x05 上傳 GitHub
將修改後的樣板上傳之後應該就會看到 DISQUS 的留言區塊囉!
